
How To Clean Tinted Windows: A Step-by-Step Guide
CALL (443) 364-8659
Imagine driving down Route 1 in Bel Air, MD, with the sun perfectly hitting your sleek car's tinted windows, giving it that flawless appearance. But then you see it - those stubborn streaks and smudges marring your once-perfect windows.
In this step-by-step guide, we will reveal the secret to keeping your tinted windows spotless and maintaining that glossy finish you adore, thanks to our window tinting service. So buckle up and get ready to transform the way you clean your tinted windows for a ride that's polished from the inside-out.
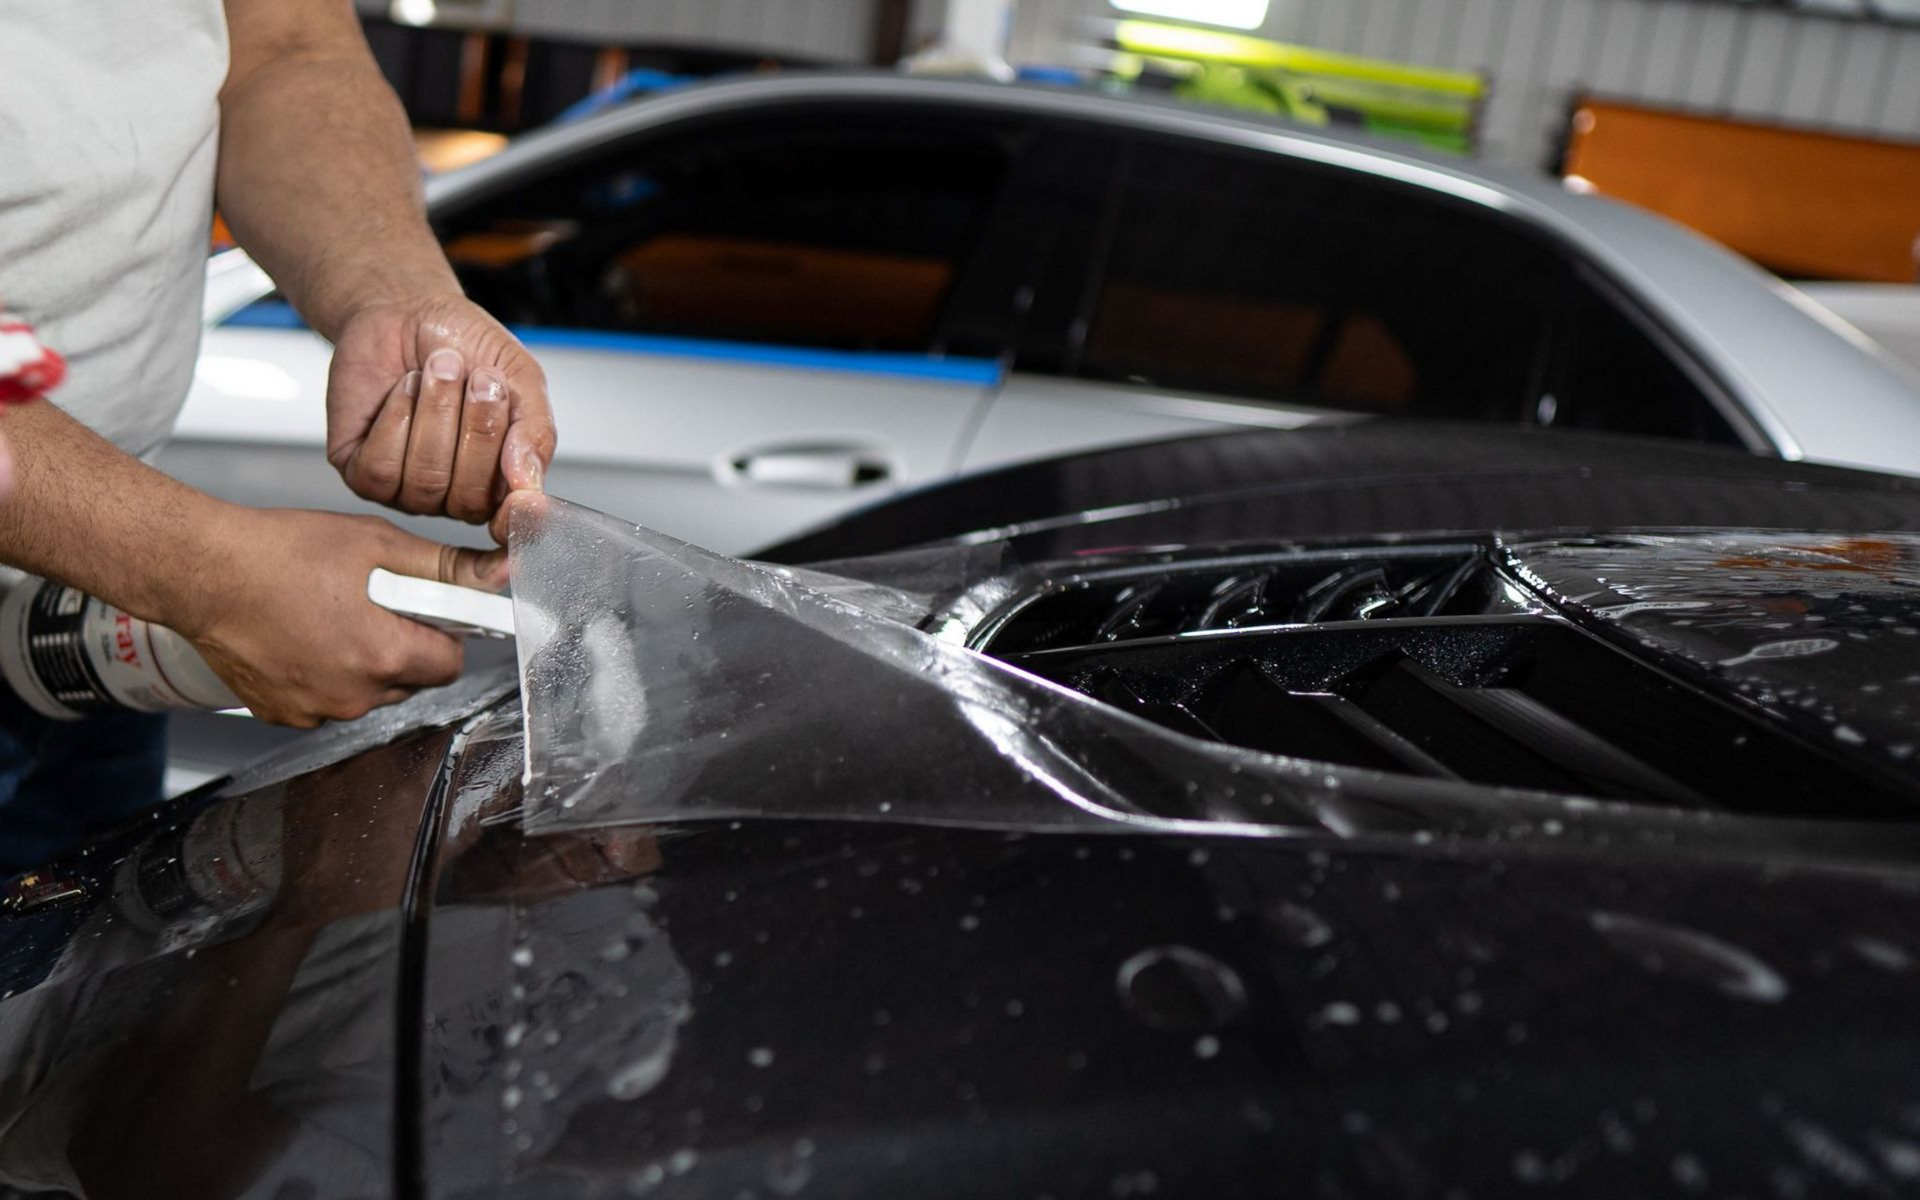
Preparing to Clean Windows With Tinted Film
Tinted windows offer several benefits for both commercial and residential buildings. They can filter ultraviolet rays, regulate temperature, and add privacy. However, cleaning tinted windows can be a tricky process because the film layer may come off if not handled properly. Here are some preparatory steps to take before utilizing our professional window tinting service or cleaning tinted windows.
First, identify the type of film used on your window. There are different types of films, such as polyester, ceramic, and dyed films. Each requires particular care while cleaning. For instance, dyed films are sensitive and can fade if cleaned with abrasive materials. Second, check whether there are any chips or cracks in the film that have left it exposed or peeling off from the edges. If that's the case, it is better to replace the film before starting to clean it.
Not only will this prevent further damage to the film during cleaning, but it will also avoid creating air bubbles that could compromise its overall effectiveness.
Some people consider using vinegar or ammonia solutions to clean their windows. However, when working with tinted windows, these are not ideal as they break down the dyes in the film, affecting their ability to block out UV rays and regulate temperatures inside the building.
A better alternative would be choosing solutions specially formulated for tinted windows or opting for a professional
window tinting service.
Removing Excess Residue and Dirt
Before applying any cleaning solution to your tinted window, always remember to gently remove excess dirt. Here are a few steps you can follow when removing dirt without damaging the film coating:
Just like scrubbing too hard on an old antique piece of furniture can cause permanent damage, scrubbing too hard on a tinted film can lead to disaster. You may end up with a scratched window or, worse, an uneven and damaged-looking tint.
Begin by cleaning the windows on a day when it's not too hot outside, as warm temperatures can cause the cleaning solution to evaporate quickly, leaving streaks and residue on your windows. A cloudy day is perfect for cleaning tinted windows.
Start by using a soft-bristled brush or cloth to gently remove any loose debris or dust from the window surface. Avoid metal or hard plastic scrapers, which could leave permanent scratches.

Some household glass cleaners contain ammonia, which will break down the dye in your tint in no time while making it brittle.
Instead, you are better positioned to use vinegar mixed into a solution that dries clear and doesn't leave streaks on your tint or rely on our specialized window tinting service for a spotless and well-maintained finish.
However, vinegar does not do the job as adequately as specialized products designed specifically for the purpose at hand, such as window tint application and maintenance.
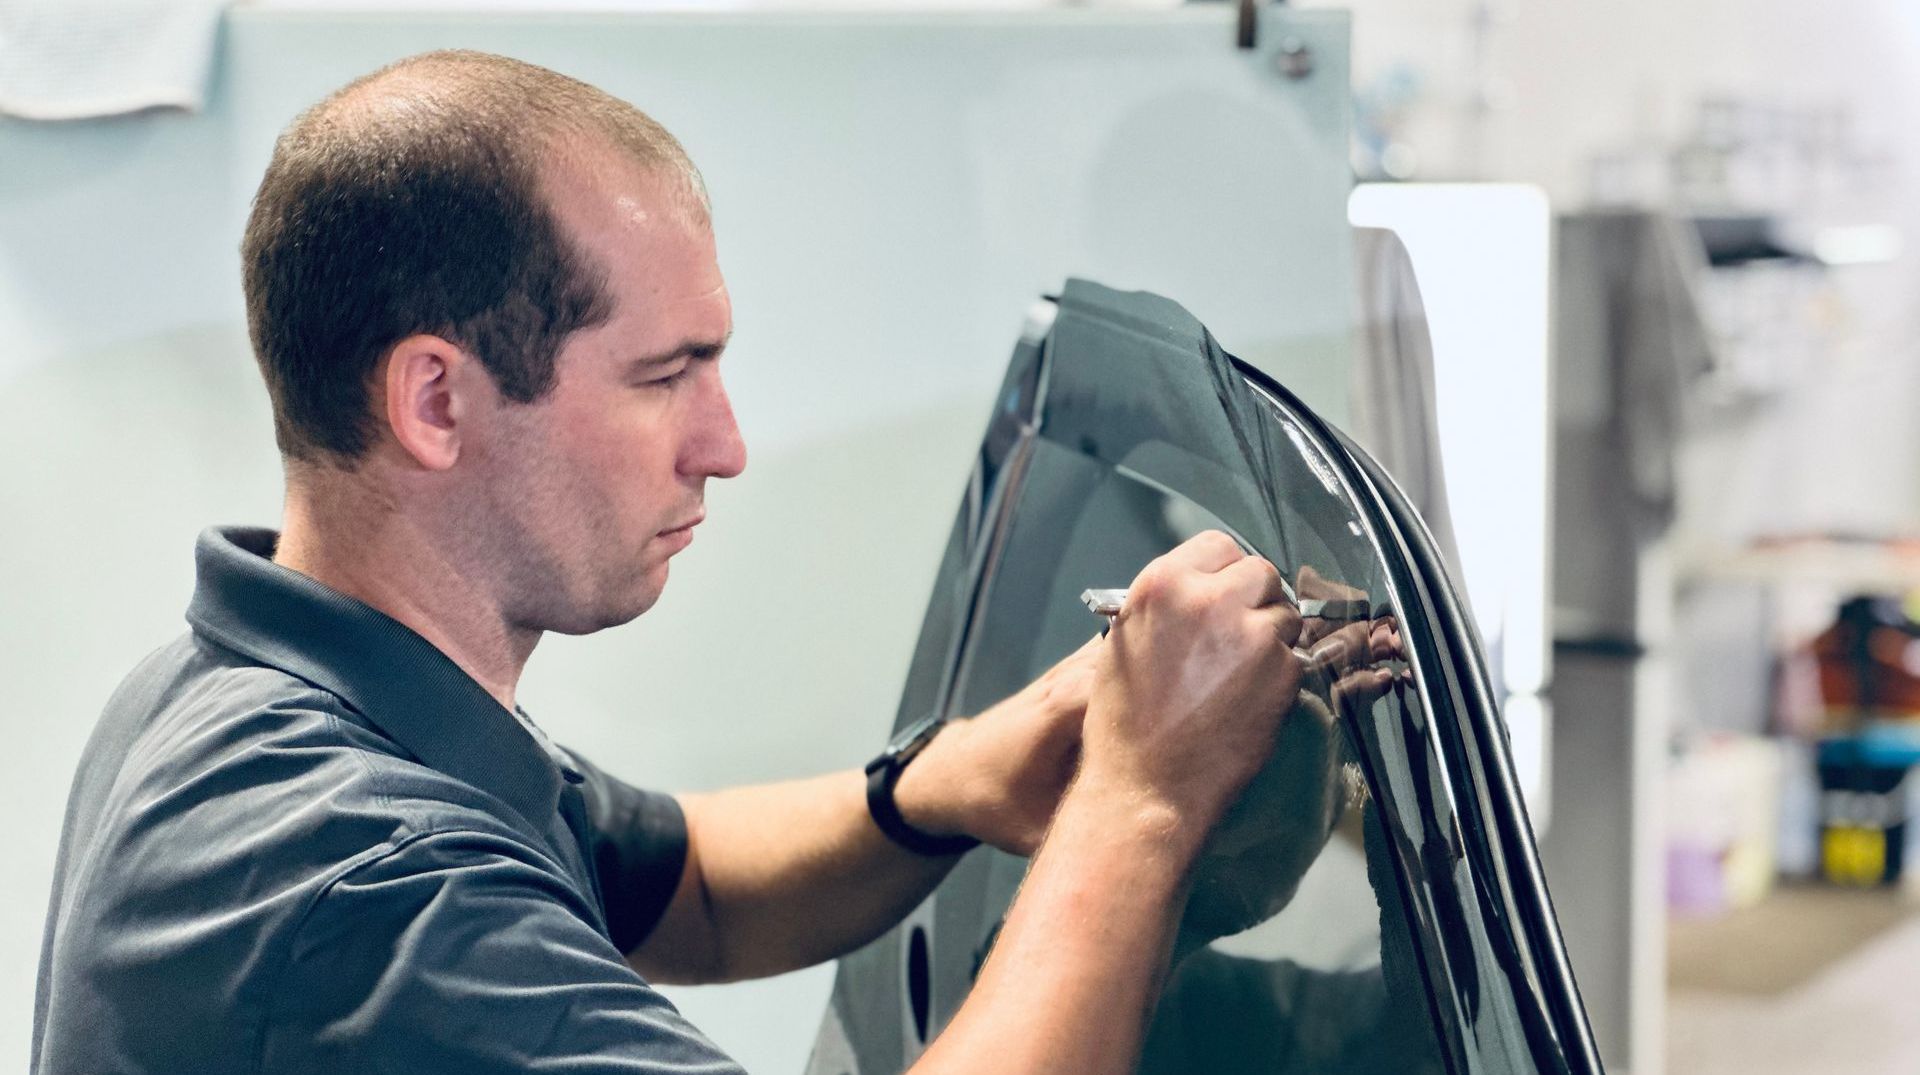
Cleaning the Window with Solution
Cleaning tinted windows can be a challenge, especially if you are doing it for the first time or if you are not familiar with the specific application process. But with the right tools and techniques, you can achieve spotless results and restore your windows to like-new condition. In this section, we will discuss how to clean the window with a solution.
First things first, gather all the necessary supplies, including your chosen cleaning solution, scrubber or sponge, microfiber cloth or towel, bucket, and squeegee. It’s important to use a cleaning solution that is safe for tinted films to avoid damaging or peeling off the film during the application process. You may also consider going for eco-friendly solutions or homemade remedies that do not contain harsh chemicals.
When applying the cleaning solution, start from the top of the window and work your way down. This is because any drips or streaks from above can be easily wiped off as you go down. Pour some of the cleaning solution into a bucket, and dip your scrubber or sponge into the soapy water. Then, apply the solution to the window tint gently, rubbing the dirt or residue off the surface of the window.
Some people prefer using newspaper instead of microfiber cloth to dry their windows after wiping them clean. However, newspaper contains microscopic abrasive particles that may scratch the film or glass surface over time. To avoid such situations, use microfiber cloths that are both highly absorbent and gentle on surfaces.
Using too much water when cleaning can result in streaks and smudging, which defeats the purpose of cleaning in the first place. Think of it as putting too much water on a painting canvas - you end up diluting the colors and creating blotches. The same applies to cleaning windows - use just enough water to get rid of dirt but not so much that it leaves a mark.
In order to achieve the best results when cleaning tinted windows, it’s important to use the right cleaning solution and scrubbers that are safe for your tinted films.
Choosing the Right Solution and Scrubbers
Not all cleaning solutions and scrubbers are created equal. While some can get rid of dirt effectively, others may cause damage to your tinted films or leave stains or streaks on your window surface. When choosing a cleaning solution, opt for ones that are specifically labeled as safe for tinted films.
This guarantees that they do not contain ammonia or other harsh chemicals that can damage or peel off your tinted film over time. You may also want to consider using an eco-friendly and biodegradable solution to minimize your impact on the environment.
Rubbing alcohol is one example of a product that you should avoid when cleaning tinted windows. It contains high levels of alcohol that can dissolve adhesive layers in the film and cause peeling or bubbling.
Instead, go for alcohol-free solutions such as vinegar-based cleaners or plant-based solutions such as citrus or eucalyptus oils, which are often used in auto detailing.

Some people prefer using abrasive scrubbers such as steel wool or scouring pads to remove tough stains from their tinted windows. However, these materials can scratch the surface of the film or glass over time. Stick with soft sponges or microfiber cloths that are gentle on surfaces but still effective at removing dirt, as is commonly done in auto detailing.
Choosing the wrong cleaning solution or scrubber for your tinted windows can be compared to using a fork instead of a spoon to eat soup. While the fork may work to scoop some of the soup, it’s not the right tool for the job and may end up making a mess. Similarly, using an abrasive scrubber to clean tinted windows may do more harm than good, which is why auto detailing professionals avoid them.
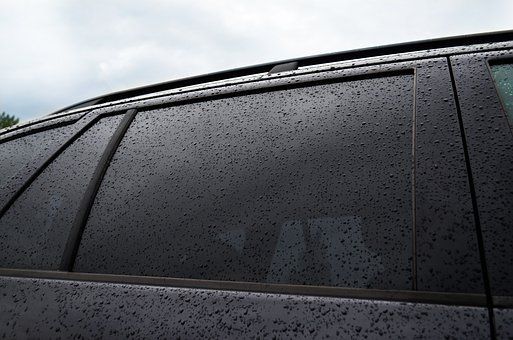
Considering Bel Air, MD Climate and Conditions
Bel Air, MD, is a beautiful place with weather patterns that can be unpredictable. With the Atlantic Ocean nearby, the region experiences high humidity throughout the year, which can cause streaks and spots on your tinted windows. In addition to that, the constant exposure to sunlight can cause the tinting film to fade, making it look pale and dull.
Therefore, before you begin cleaning your tinted windows, it's important to consider the climate and conditions in order to choose the right tools and solutions that will deliver a streak-free shine, similar to what auto detailing experts do.
If you have recently moved to Bel Air, MD, from somewhere with a more arid climate or live in an area known for its dry weather, it may come as a surprise that cleaning your windows in this region can be a challenging task. The high concentration of moisture in the air means that water droplets can accumulate on your windows, causing spots or smears.
Even if you use a standard window cleaner or solution recommended for tinted windows, you may find that it doesn't perform as expected. This is because these products are designed to work well in conditions where humidity levels are low.
When used in high humidity areas like Bel Air, they might create even more streaks or thin films over the surface of your tinted windows, which is not ideal for auto detailing.
When used in high humidity areas like Bel Air, they might create even more streaks or thin films over the surface of your tinted windows, which is not ideal for auto detailing.
On the other hand, there are arguments against using specialized cleaners meant for tinted windows only. For example, some people argue that using common household supplies like vinegar and water will do just fine when cleaning your car windows.
Although vinegar works well on common stains like grease and dirt, it may not be effective enough to remove hard water deposits that accumulate on your windows due to Bel Air's high humidity levels.
Think of cleaning your tinted windows like cooking - you can't use the same recipe for every dish. Similarly, you can't use a standard window cleaner or solution on your tinted windows without considering the environment in which you live.
In this case, auto detailing techniques and products might provide better results for a streak-free clean. You need to add ingredients that cater to the unique demands of the region's climate and conditions.
After scrubbing and rinsing your tinted car windows, it is important to dry them completely. Water droplets can leave spots on the windows when they evaporate, so drying them off is key to achieving a dazzling shine. In addition to drying your tinted windows thoroughly, using a microfiber cloth or towel helps to avoid scratching the surface of the tinting film. This type of cloth traps dust and dirt efficiently while leaving no residue behind.
However, some people argue against using microfiber towels because they are concerned about lint getting stuck on their tinted windows. But if you wash and rinse the cloths regularly or opt for high-quality ones, there should be no risk of this happening. Think of drying your tinted car windows like a hairstylist thinking about how to end a great haircut - with hair spray. Just like hair spray provides a long-lasting hold for styling your hair, proper drying techniques ensure that your tinted windows stay glossy for longer.
Following these steps will make sure that your tinted windows remain looking new for years, irrespective of where you live.
Drying and Protecting Surfaces
Drying and protecting surfaces are the final steps in cleaning tinted windows. However, these last steps are crucial to achieving a streak-free finish. Neglecting these steps may cause water stains, smudges, or scratches on your newly cleaned windows. Therefore, it is essential to follow these final instructions carefully.
Firstly, you should use a microfiber towel or a squeegee to dry the window surface. These towels are gentler on your tinted film compared to regular towels, and they absorb water more efficiently. Drying your tinted window with a rough towel can scratch or peel off the film easily. Also, using newspaper as an alternative drying method is not suitable for cleaning tinted windows because of ink residue that may ruin your film.
- According to a survey conducted by the International Window Film Association, nearly 52% of residential window film customers in the United States use professionally installed window films such as tinted films.
- A study published in the Journal of Architectural Engineering revealed that using a soft cloth and non-ammonia based cleaning solutions can increase the lifespan of window tints by up to 40%.
- The U.S. Department of Energy reports that window films like tinted film can reduce heat gain from sunlight by approximately 30% to 50%, helping homeowners save on cooling costs during the summer months.
Alternative Methods for Window Cleaning
There are some alternative methods for window cleaning that you can try if the regular method doesn’t work for you. Some of these methods are eco-friendly, efficient, and less expensive than traditional methods. Vinegar is a natural cleaning solution that is readily available in most households. You can make your own vinegar-based window cleaner by mixing equal parts of water and vinegar in a spray bottle.
It’s eco-friendly and an excellent alternative for people with allergies or sensitive skin who prefer to avoid harsh chemicals. Another alternative method is using black tea as a cleaner, which contains tannic acid that works as a natural degreaser. To apply, brew some black tea bags (two to three will suffice), let them cool, pour them into a spray bottle, and apply it to your windows’ surface evenly.
While using alternative methods might be cheap and eco-friendly, they may require more time and effort to see visible results. Traditional window cleaners contain specialized chemicals that break down dirt and grime more quickly than natural resources.
Moreover, if you’re dealing with hard water stains or large tinted windows that need heavy-duty cleaning, alternative methods may not be effective.
Enhance Privacy and Protection with High-Quality Window Tinting in Bel Air, MD
Quality matters when it comes to window tinting. At Kleen Whips, we only utilize the best materials available, ensuring long-lasting results you can trust. Our tints are resistant to fading, peeling, and bubbling and will keep their beautiful appearance for many years. With our experienced installation procedures and attention to detail, you can be confident that your window tinting will be expertly performed, delivering the durability and performance you require.
Contact us or visit us online today to learn more information and get a free consultation!